> ## Documentation Index
> Fetch the complete documentation index at: https://docs.cantina.xyz/llms.txt
> Use this file to discover all available pages before exploring further.
# Apex
> Connect Apex to Clarion to ingest security findings from your repositories and code scanning workflows.
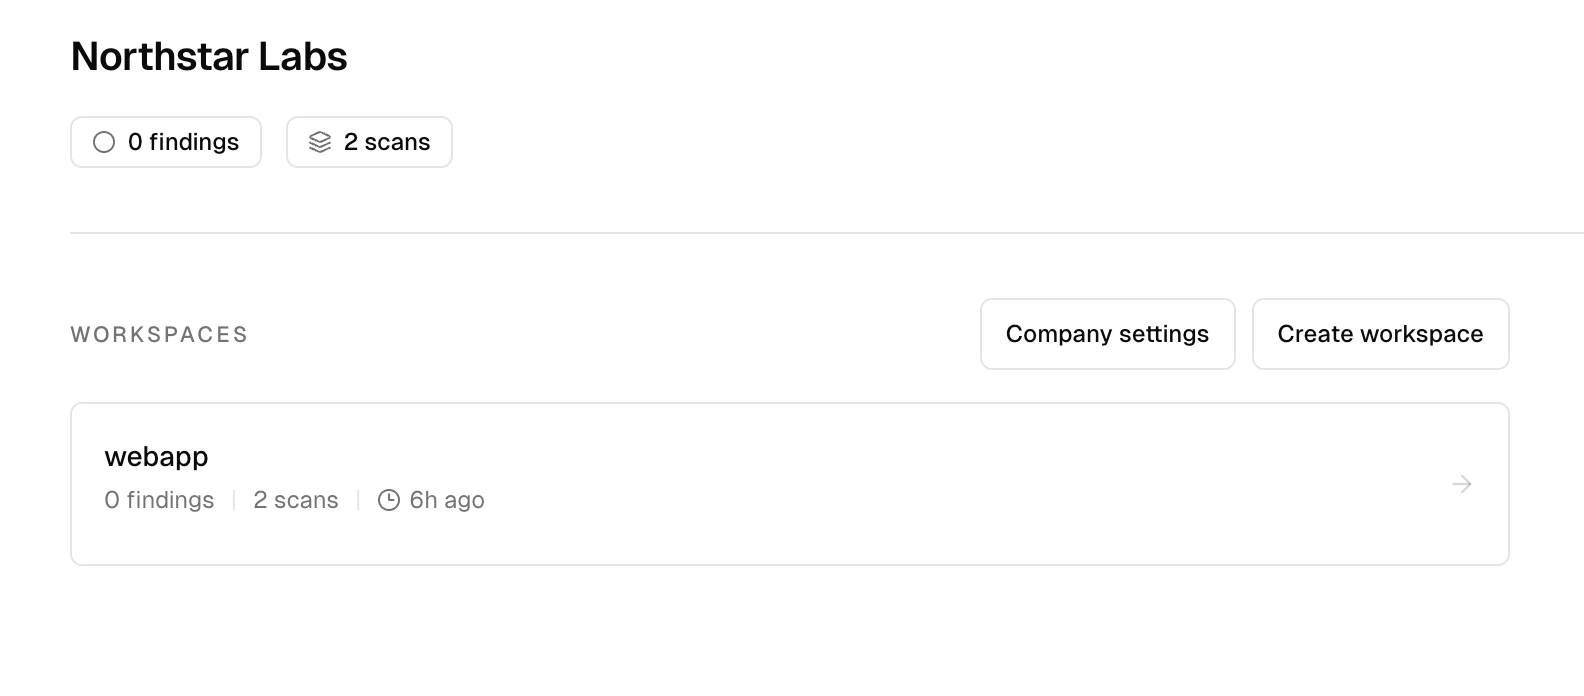
This guide walks you through connecting Apex to Clarion. Once connected, Apex sends security findings into Clarion, where the Apex agent can triage them and drive incident response.
> **Estimated time:** 2-5 minutes. You will need access to your **Apex dashboard** with permission to manage company settings, and a **Clarion workspace**.
## Prerequisites
* Access to your **Apex dashboard** with permission to manage **Company Settings**
* A **Clarion workspace** with the Apex integration available
***
## Step 1 - Enable the Apex integration in Clarion
1. In Clarion, navigate to **Integrations**.
2. Find the **Apex** card and click **Connect** to enable the integration.
***
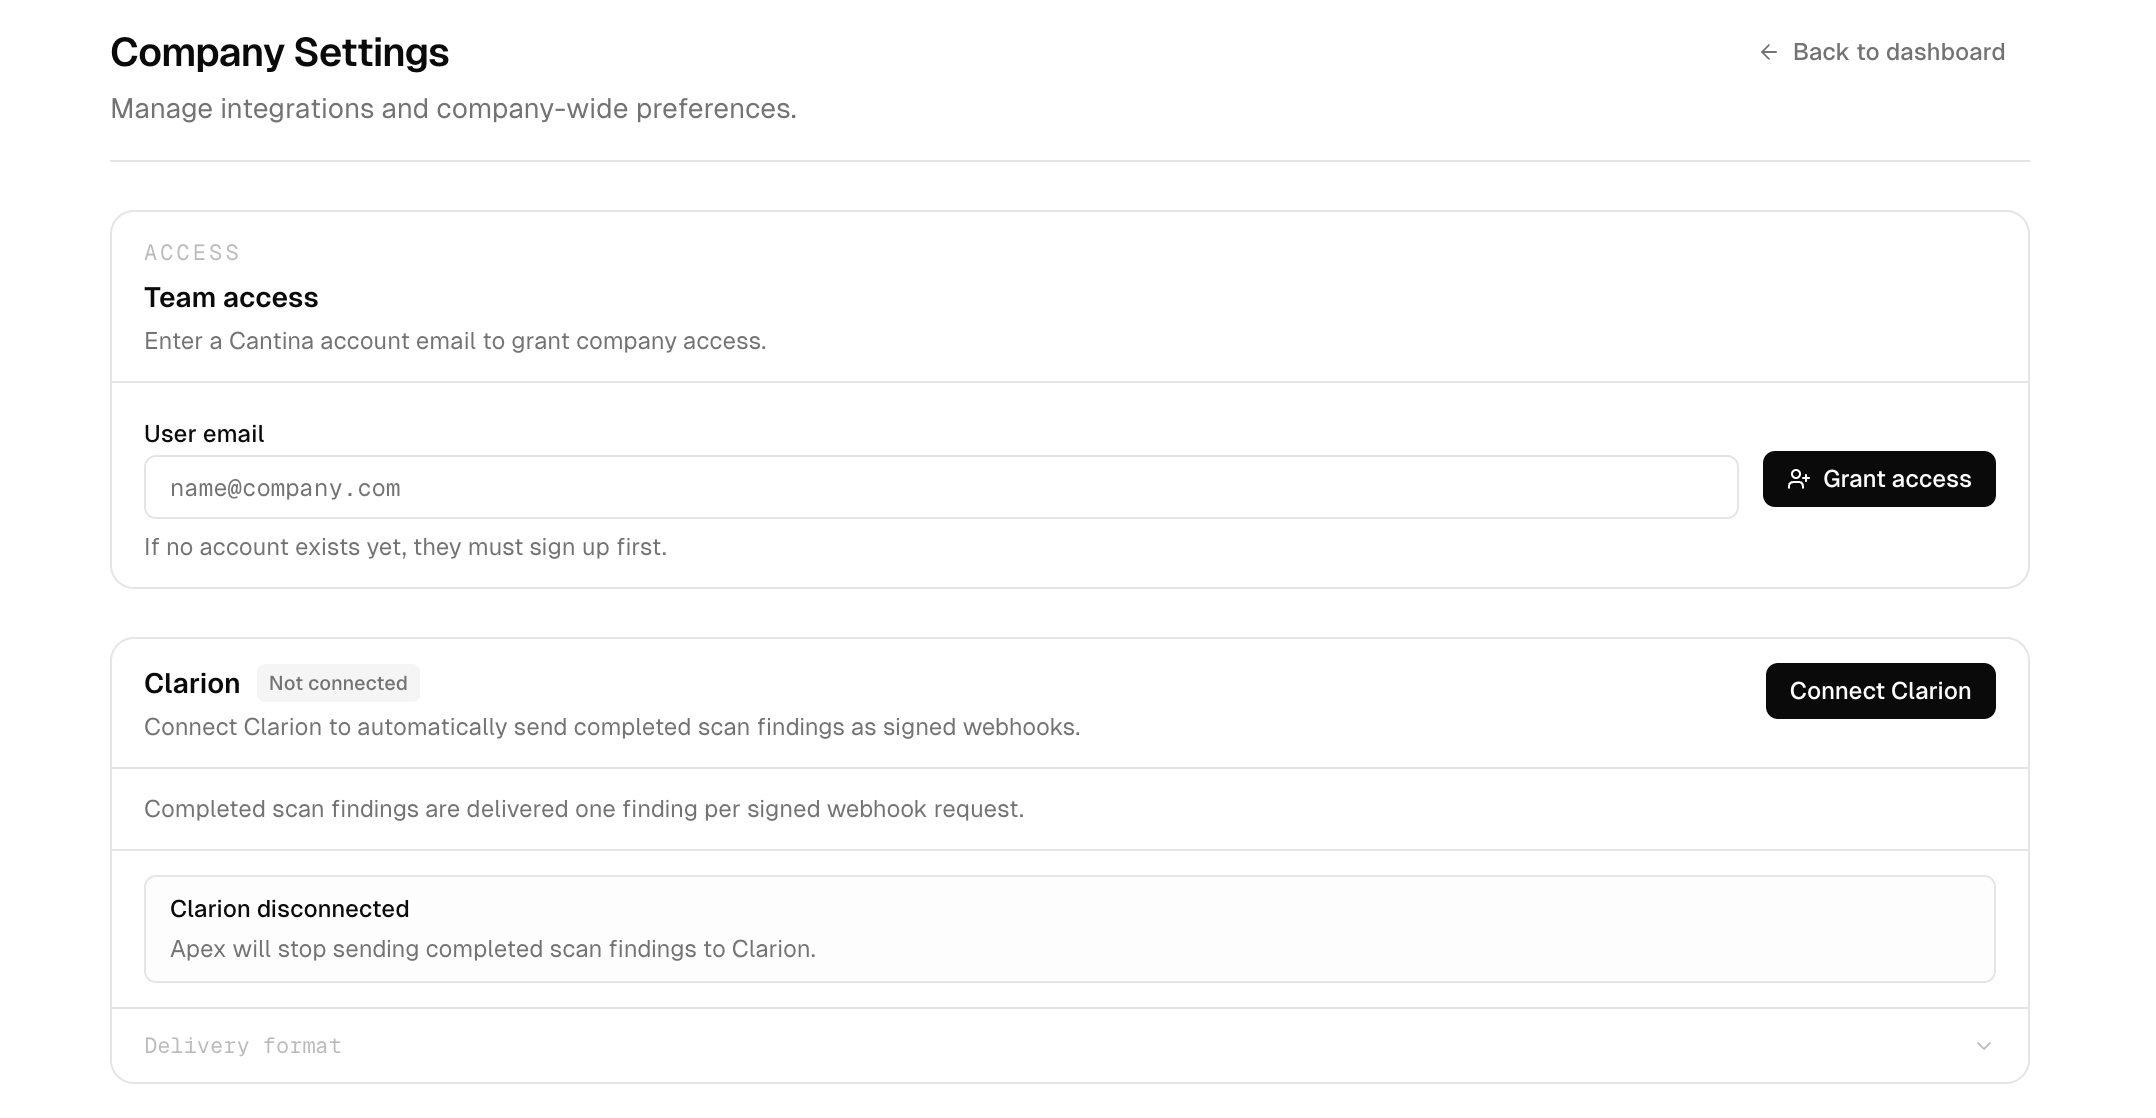
## Step 2 - Open Company Settings in Apex
1. Open your **Apex dashboard**.
2. Go to **Company Settings**.
 ***
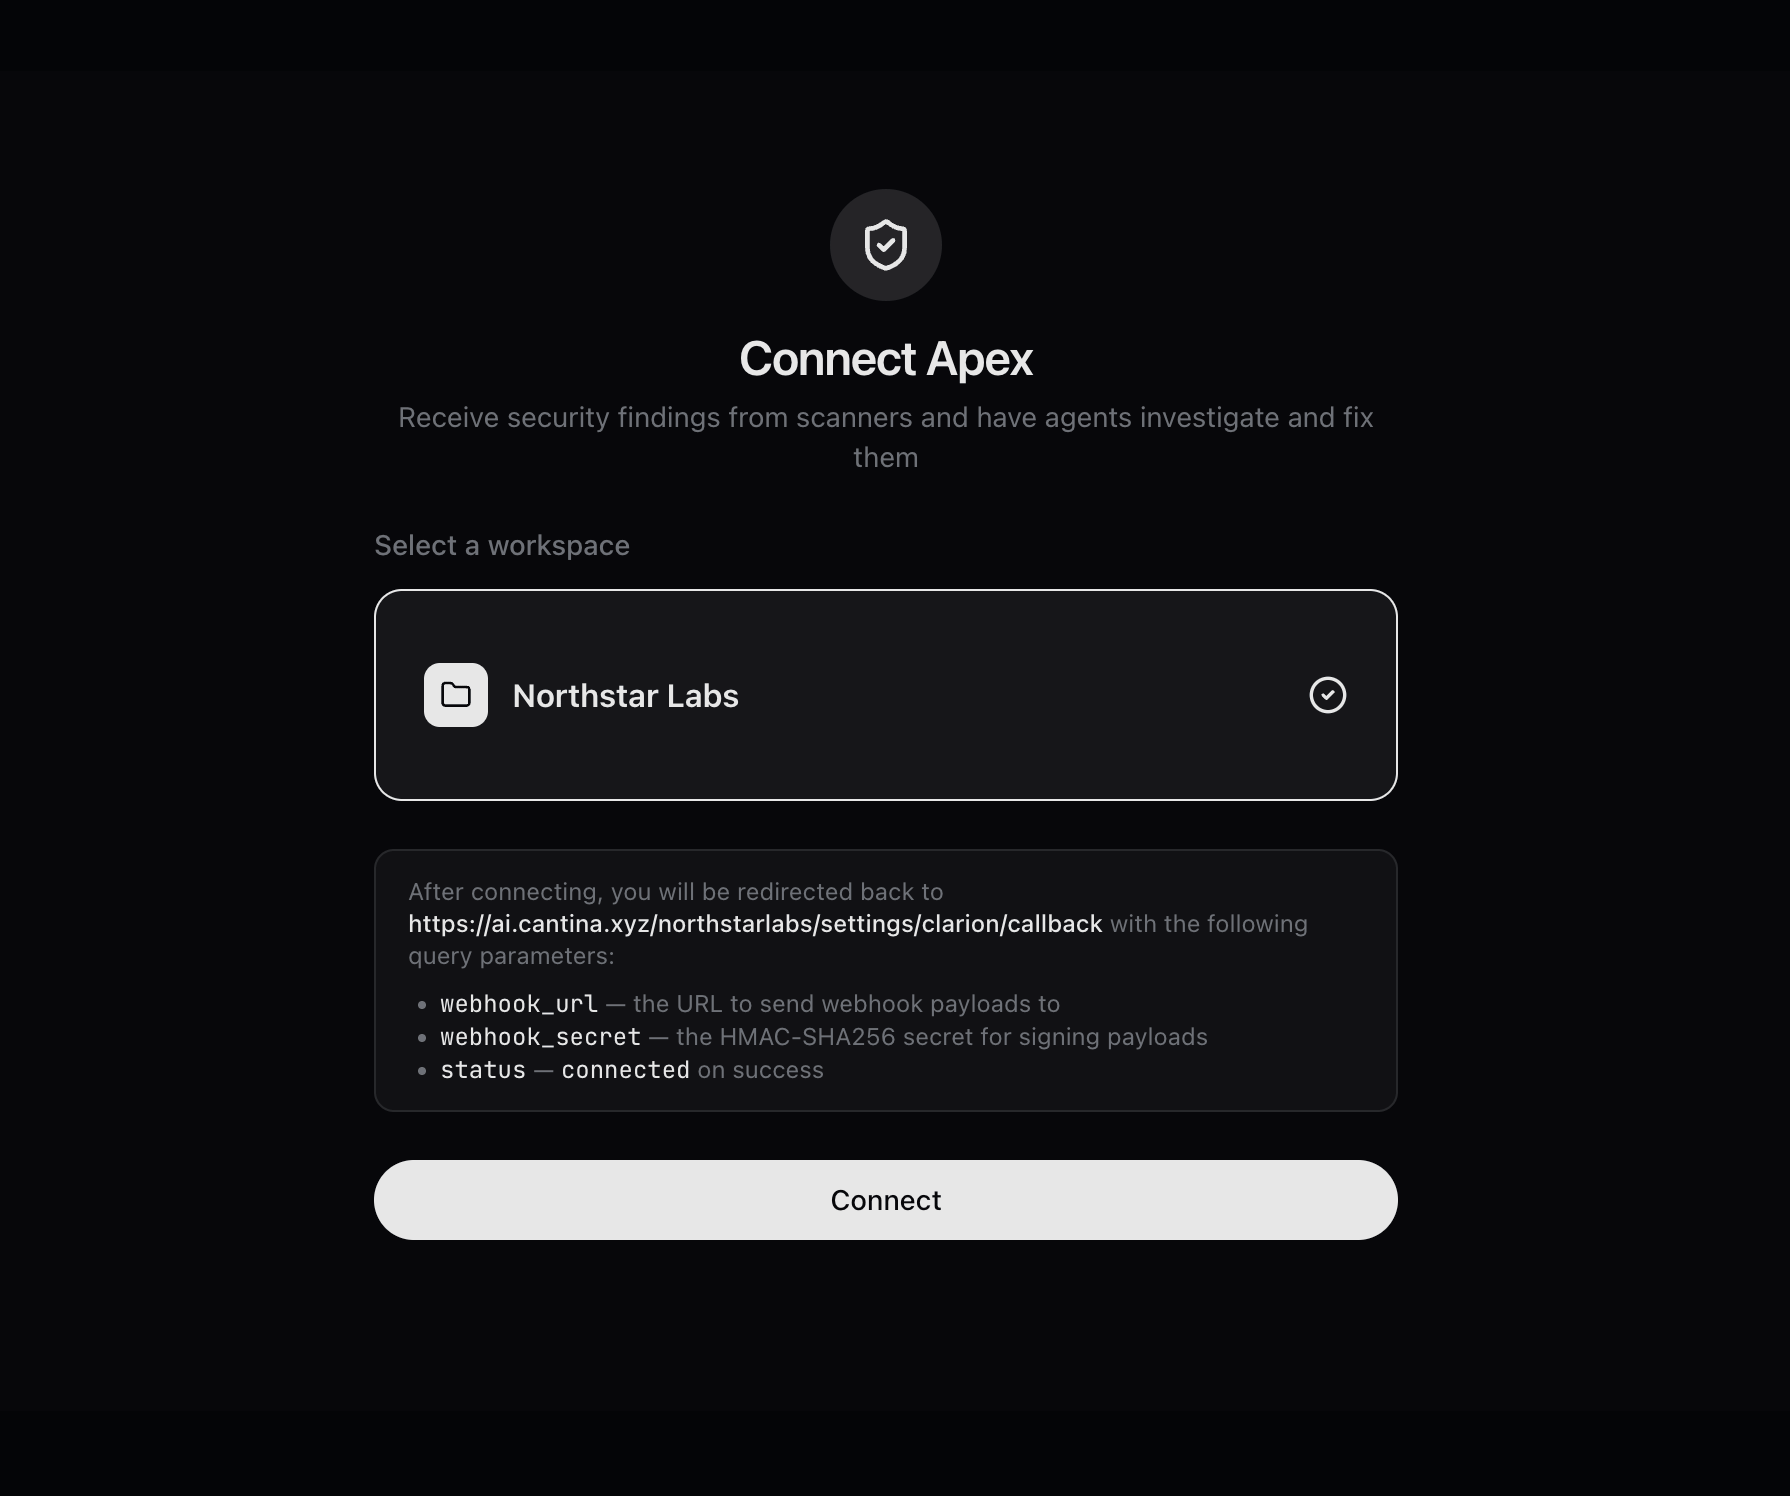
## Step 3 - Connect Clarion from Apex
1. In Company Settings, click **Connect Clarion**.
2. Review the workspace shown in the connection screen and confirm it's the correct Clarion workspace before connecting.
***
## Step 3 - Connect Clarion from Apex
1. In Company Settings, click **Connect Clarion**.
2. Review the workspace shown in the connection screen and confirm it's the correct Clarion workspace before connecting.
 ***
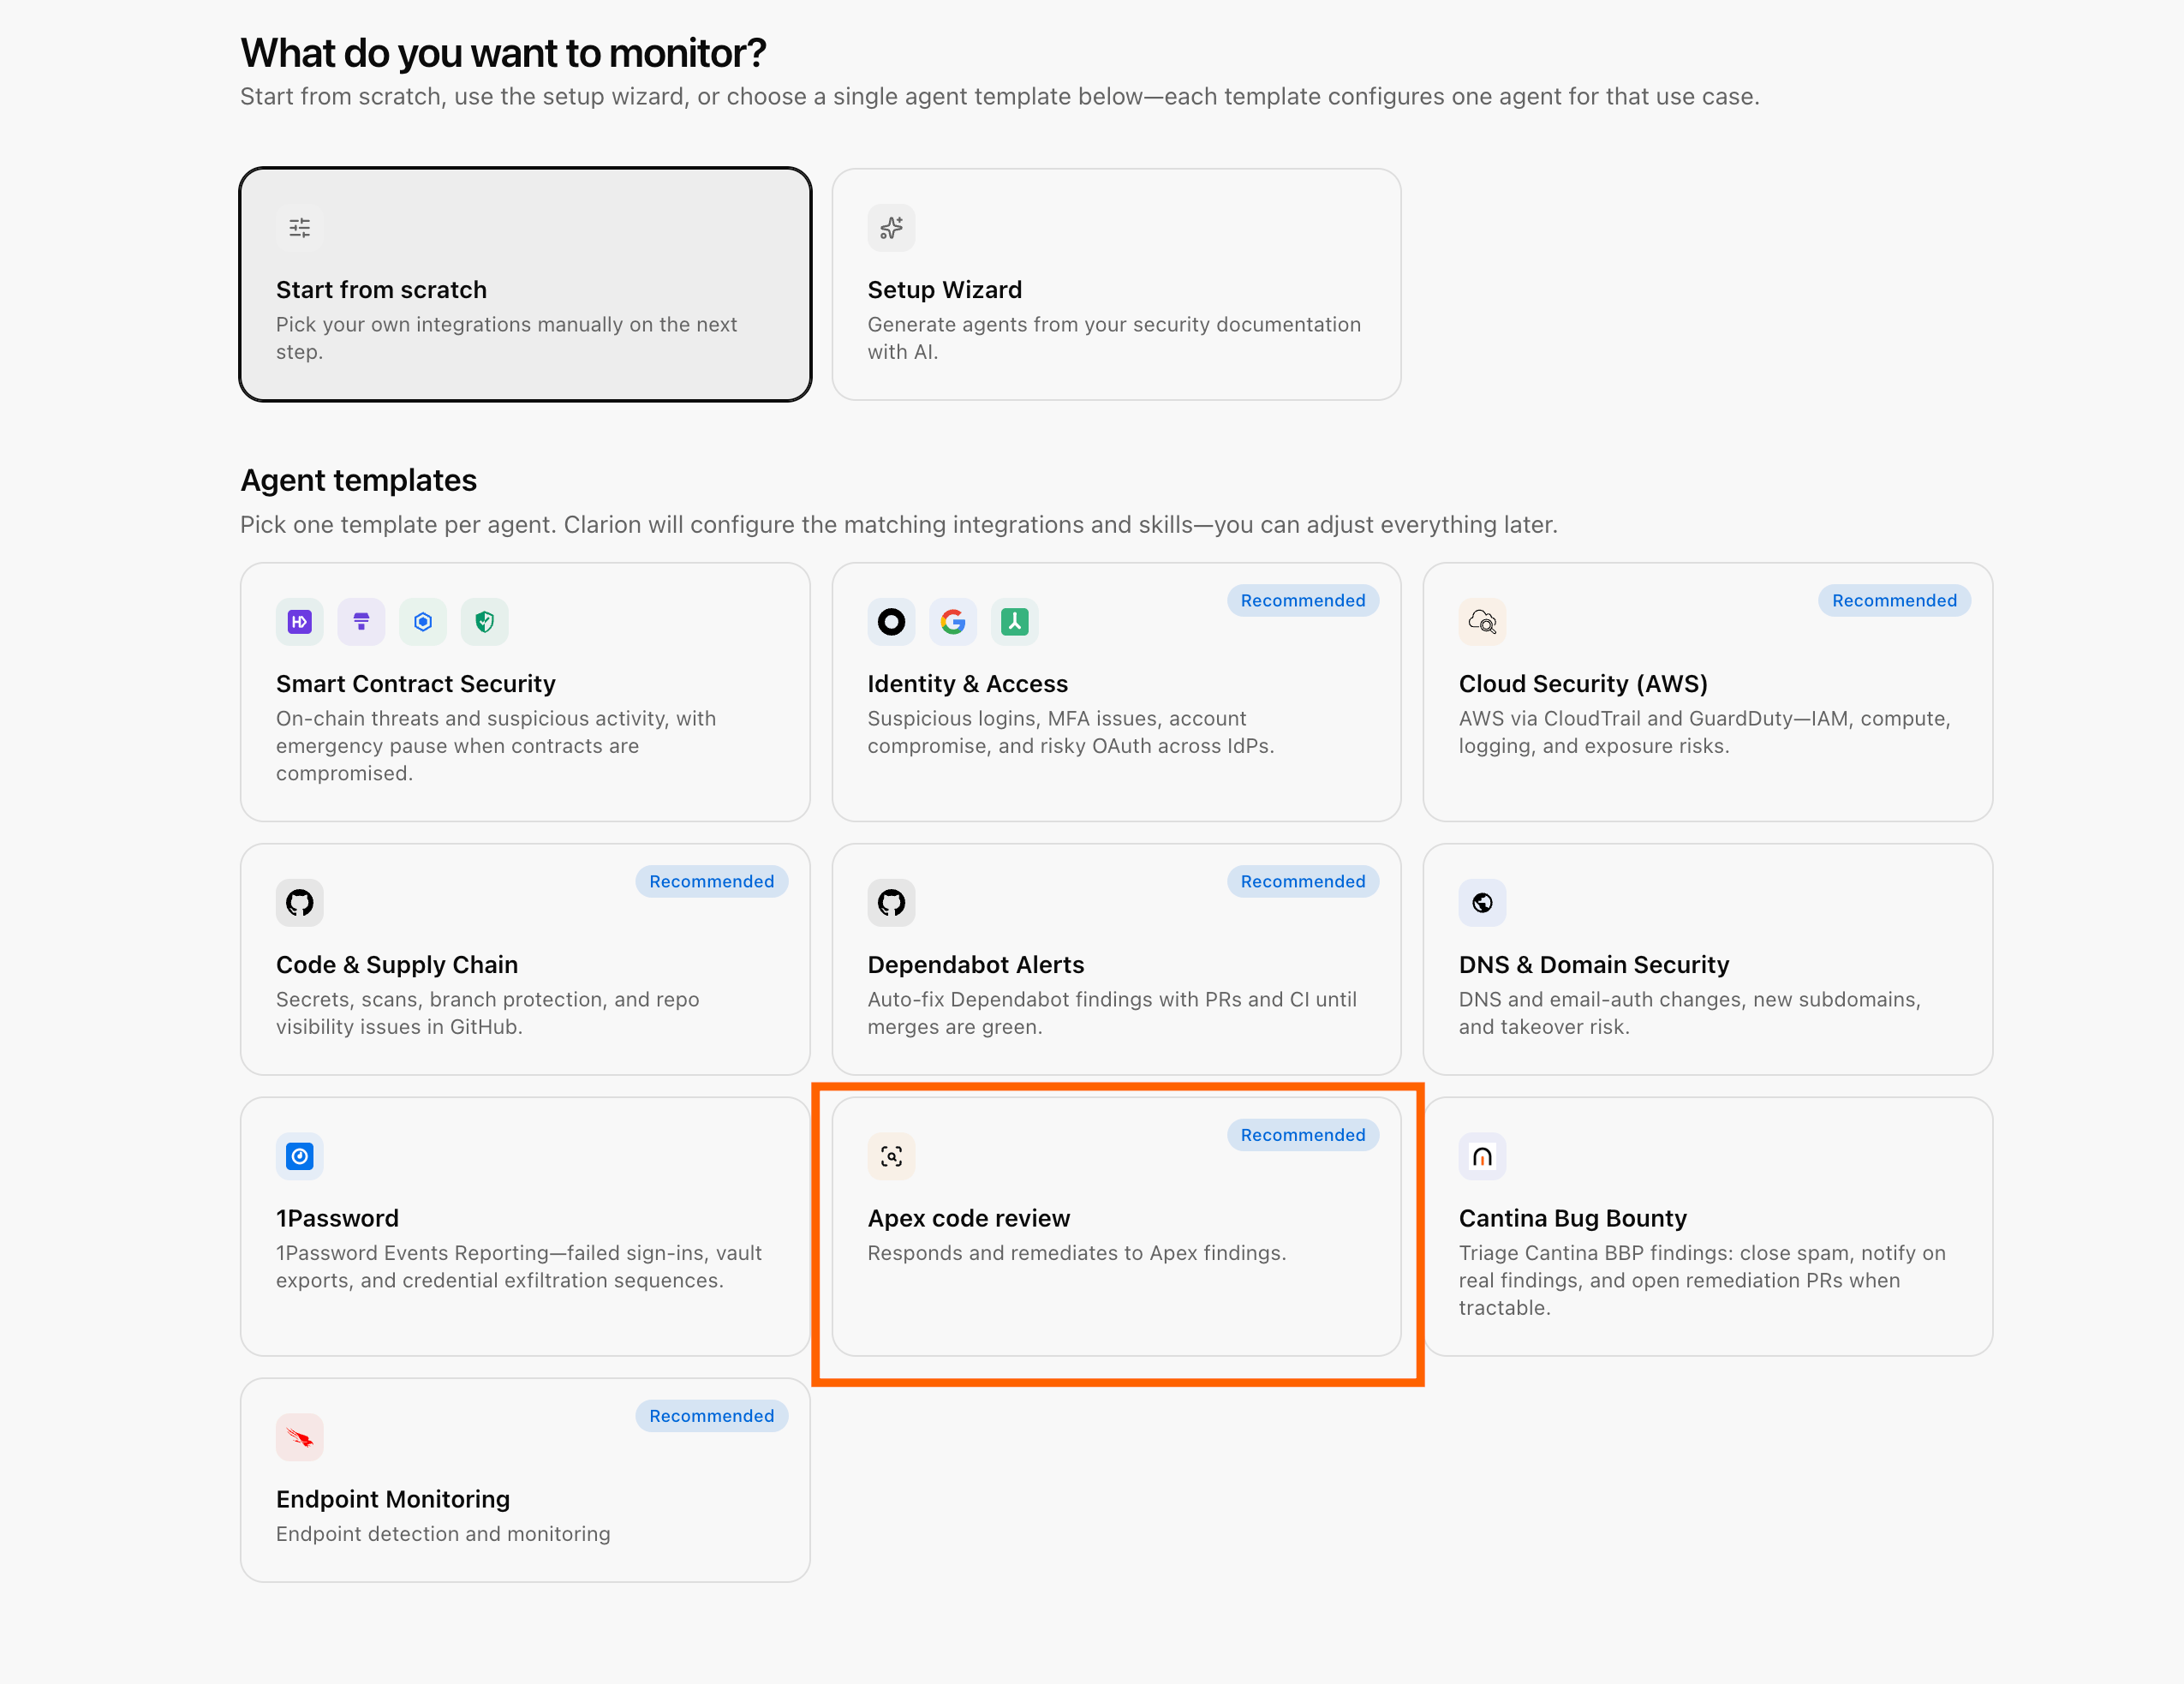
## Step 4 - Add the Apex agent in Clarion
Once the connection is established:
1. In Clarion, go to **Agents**.
2. Click **Create Agent**.
3. Add the **Apex agent** so findings from Apex are picked up and triaged automatically.
> Without the Apex agent enabled, findings will arrive in Clarion but won't be triaged. Don't skip this step.
***
## Step 4 - Add the Apex agent in Clarion
Once the connection is established:
1. In Clarion, go to **Agents**.
2. Click **Create Agent**.
3. Add the **Apex agent** so findings from Apex are picked up and triaged automatically.
> Without the Apex agent enabled, findings will arrive in Clarion but won't be triaged. Don't skip this step.