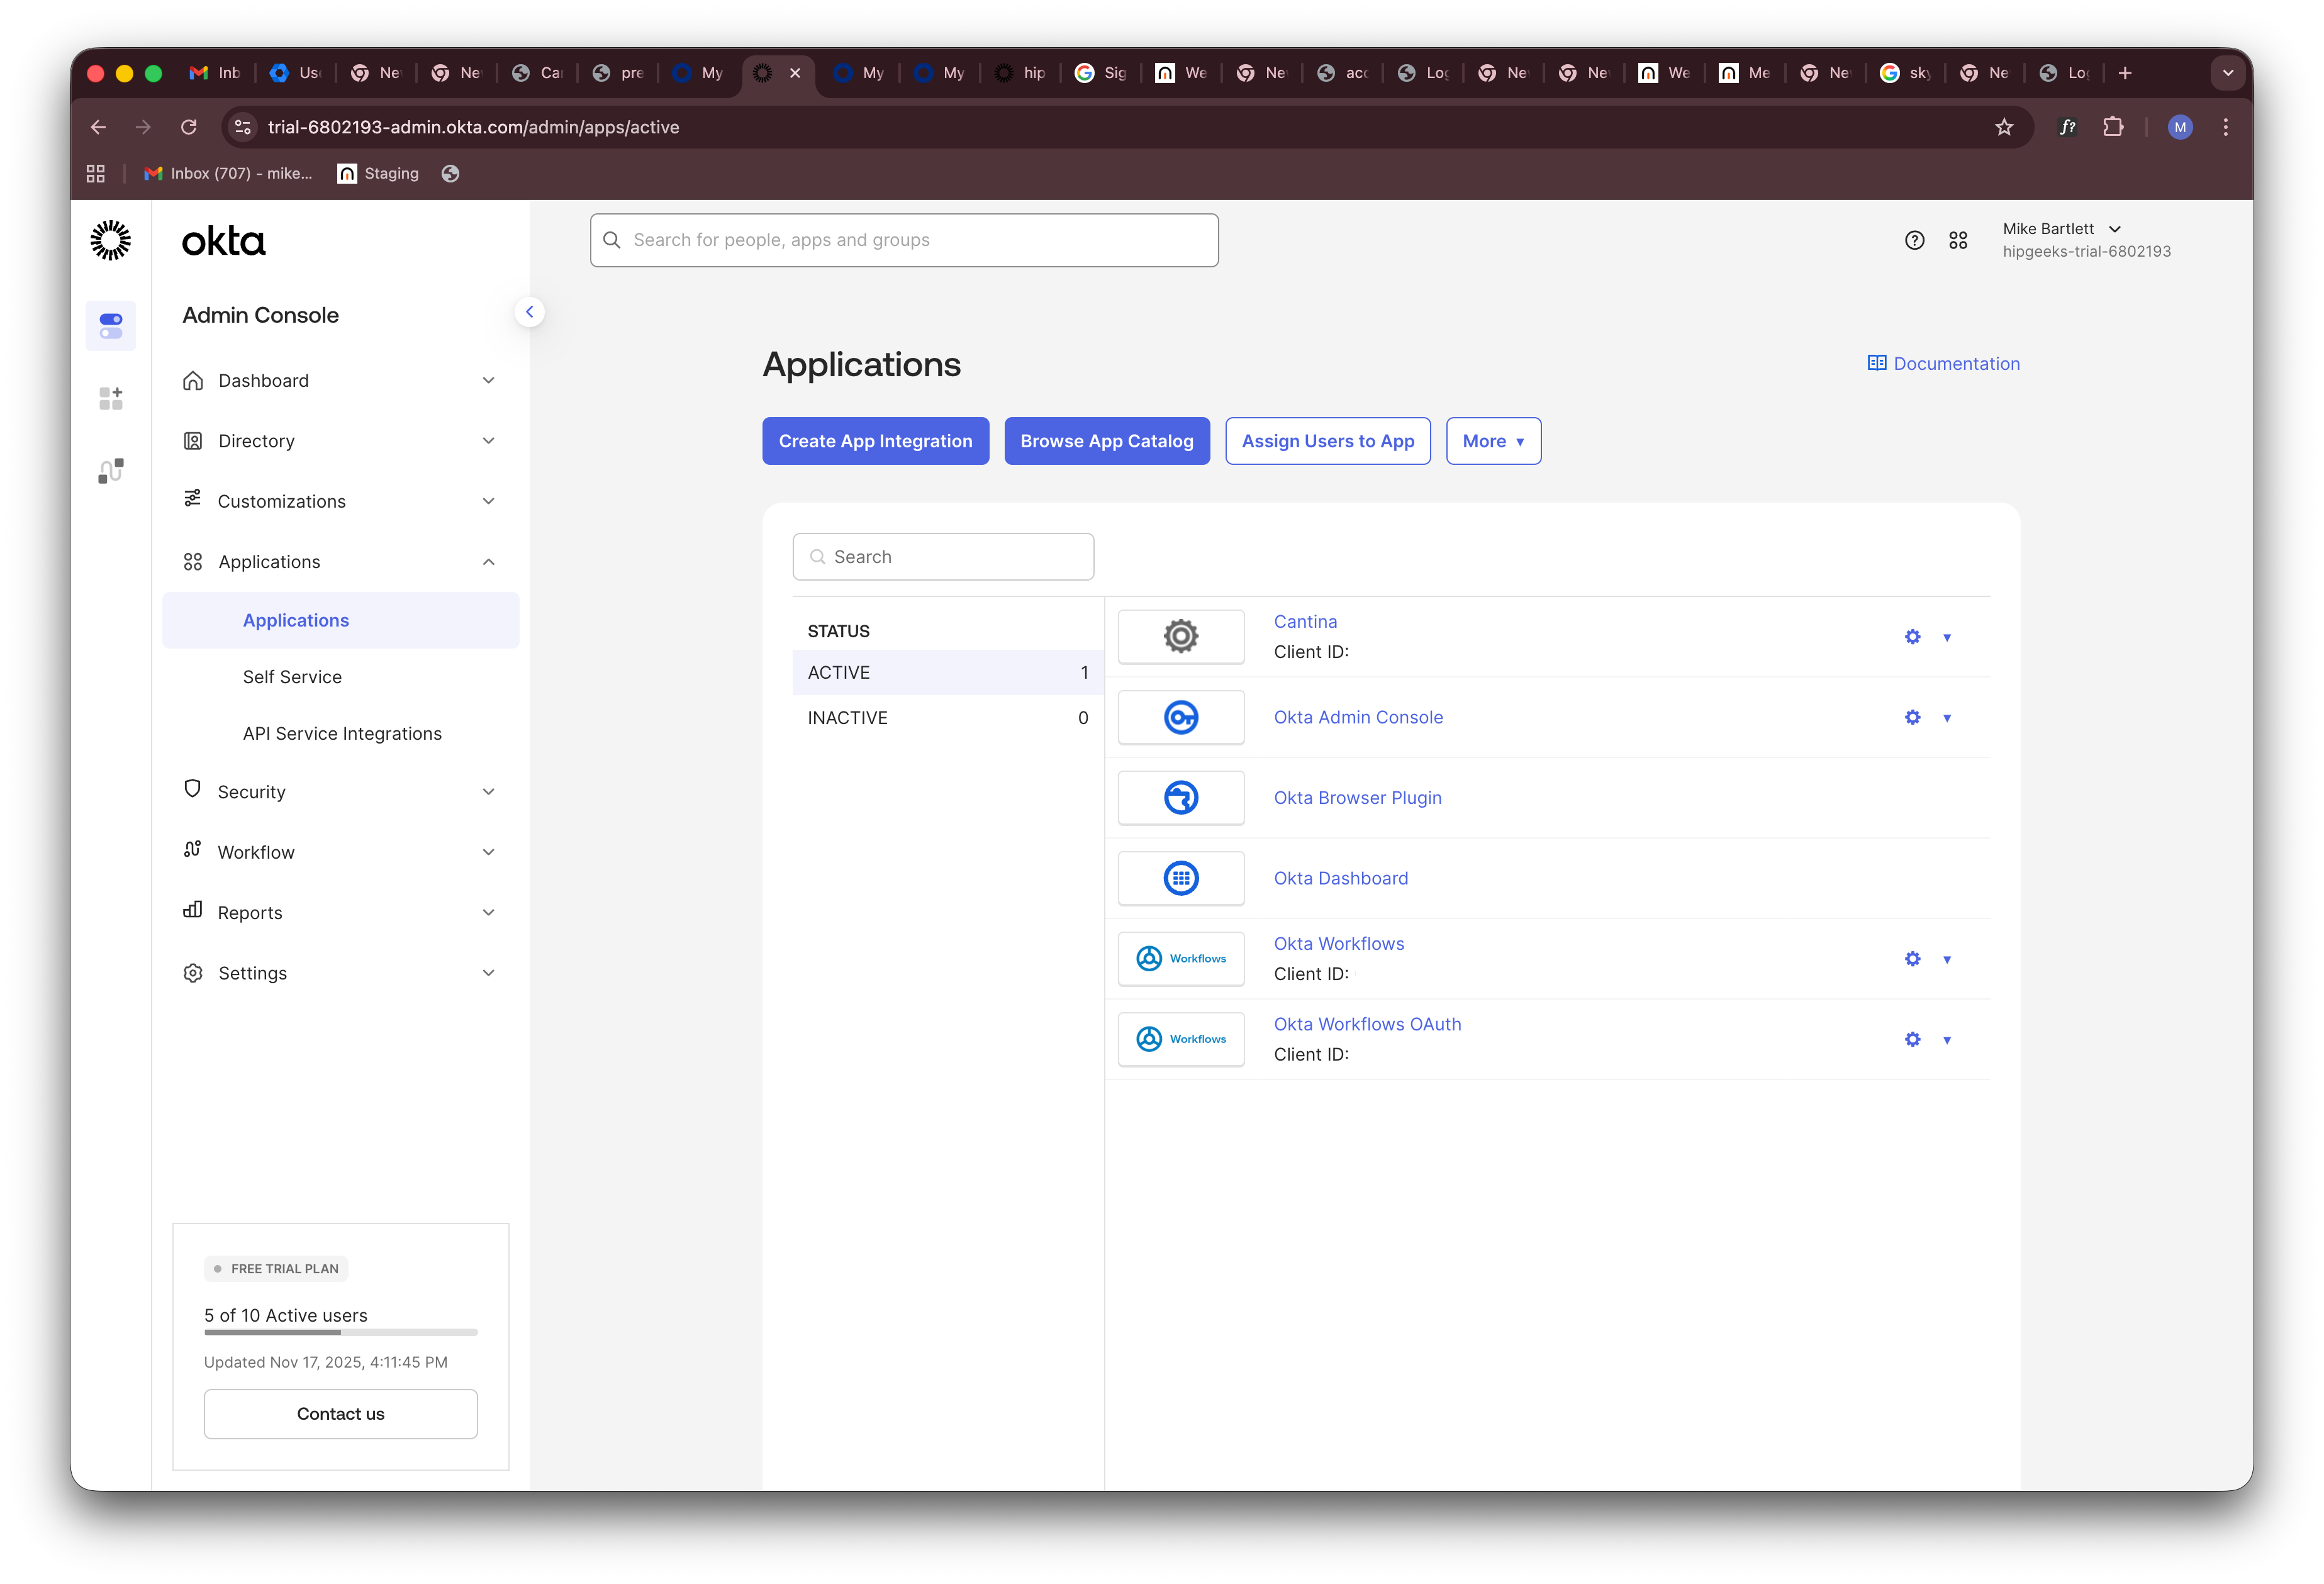
Okta Settings
- Navigate to the Okta Admin Console and select Applications.
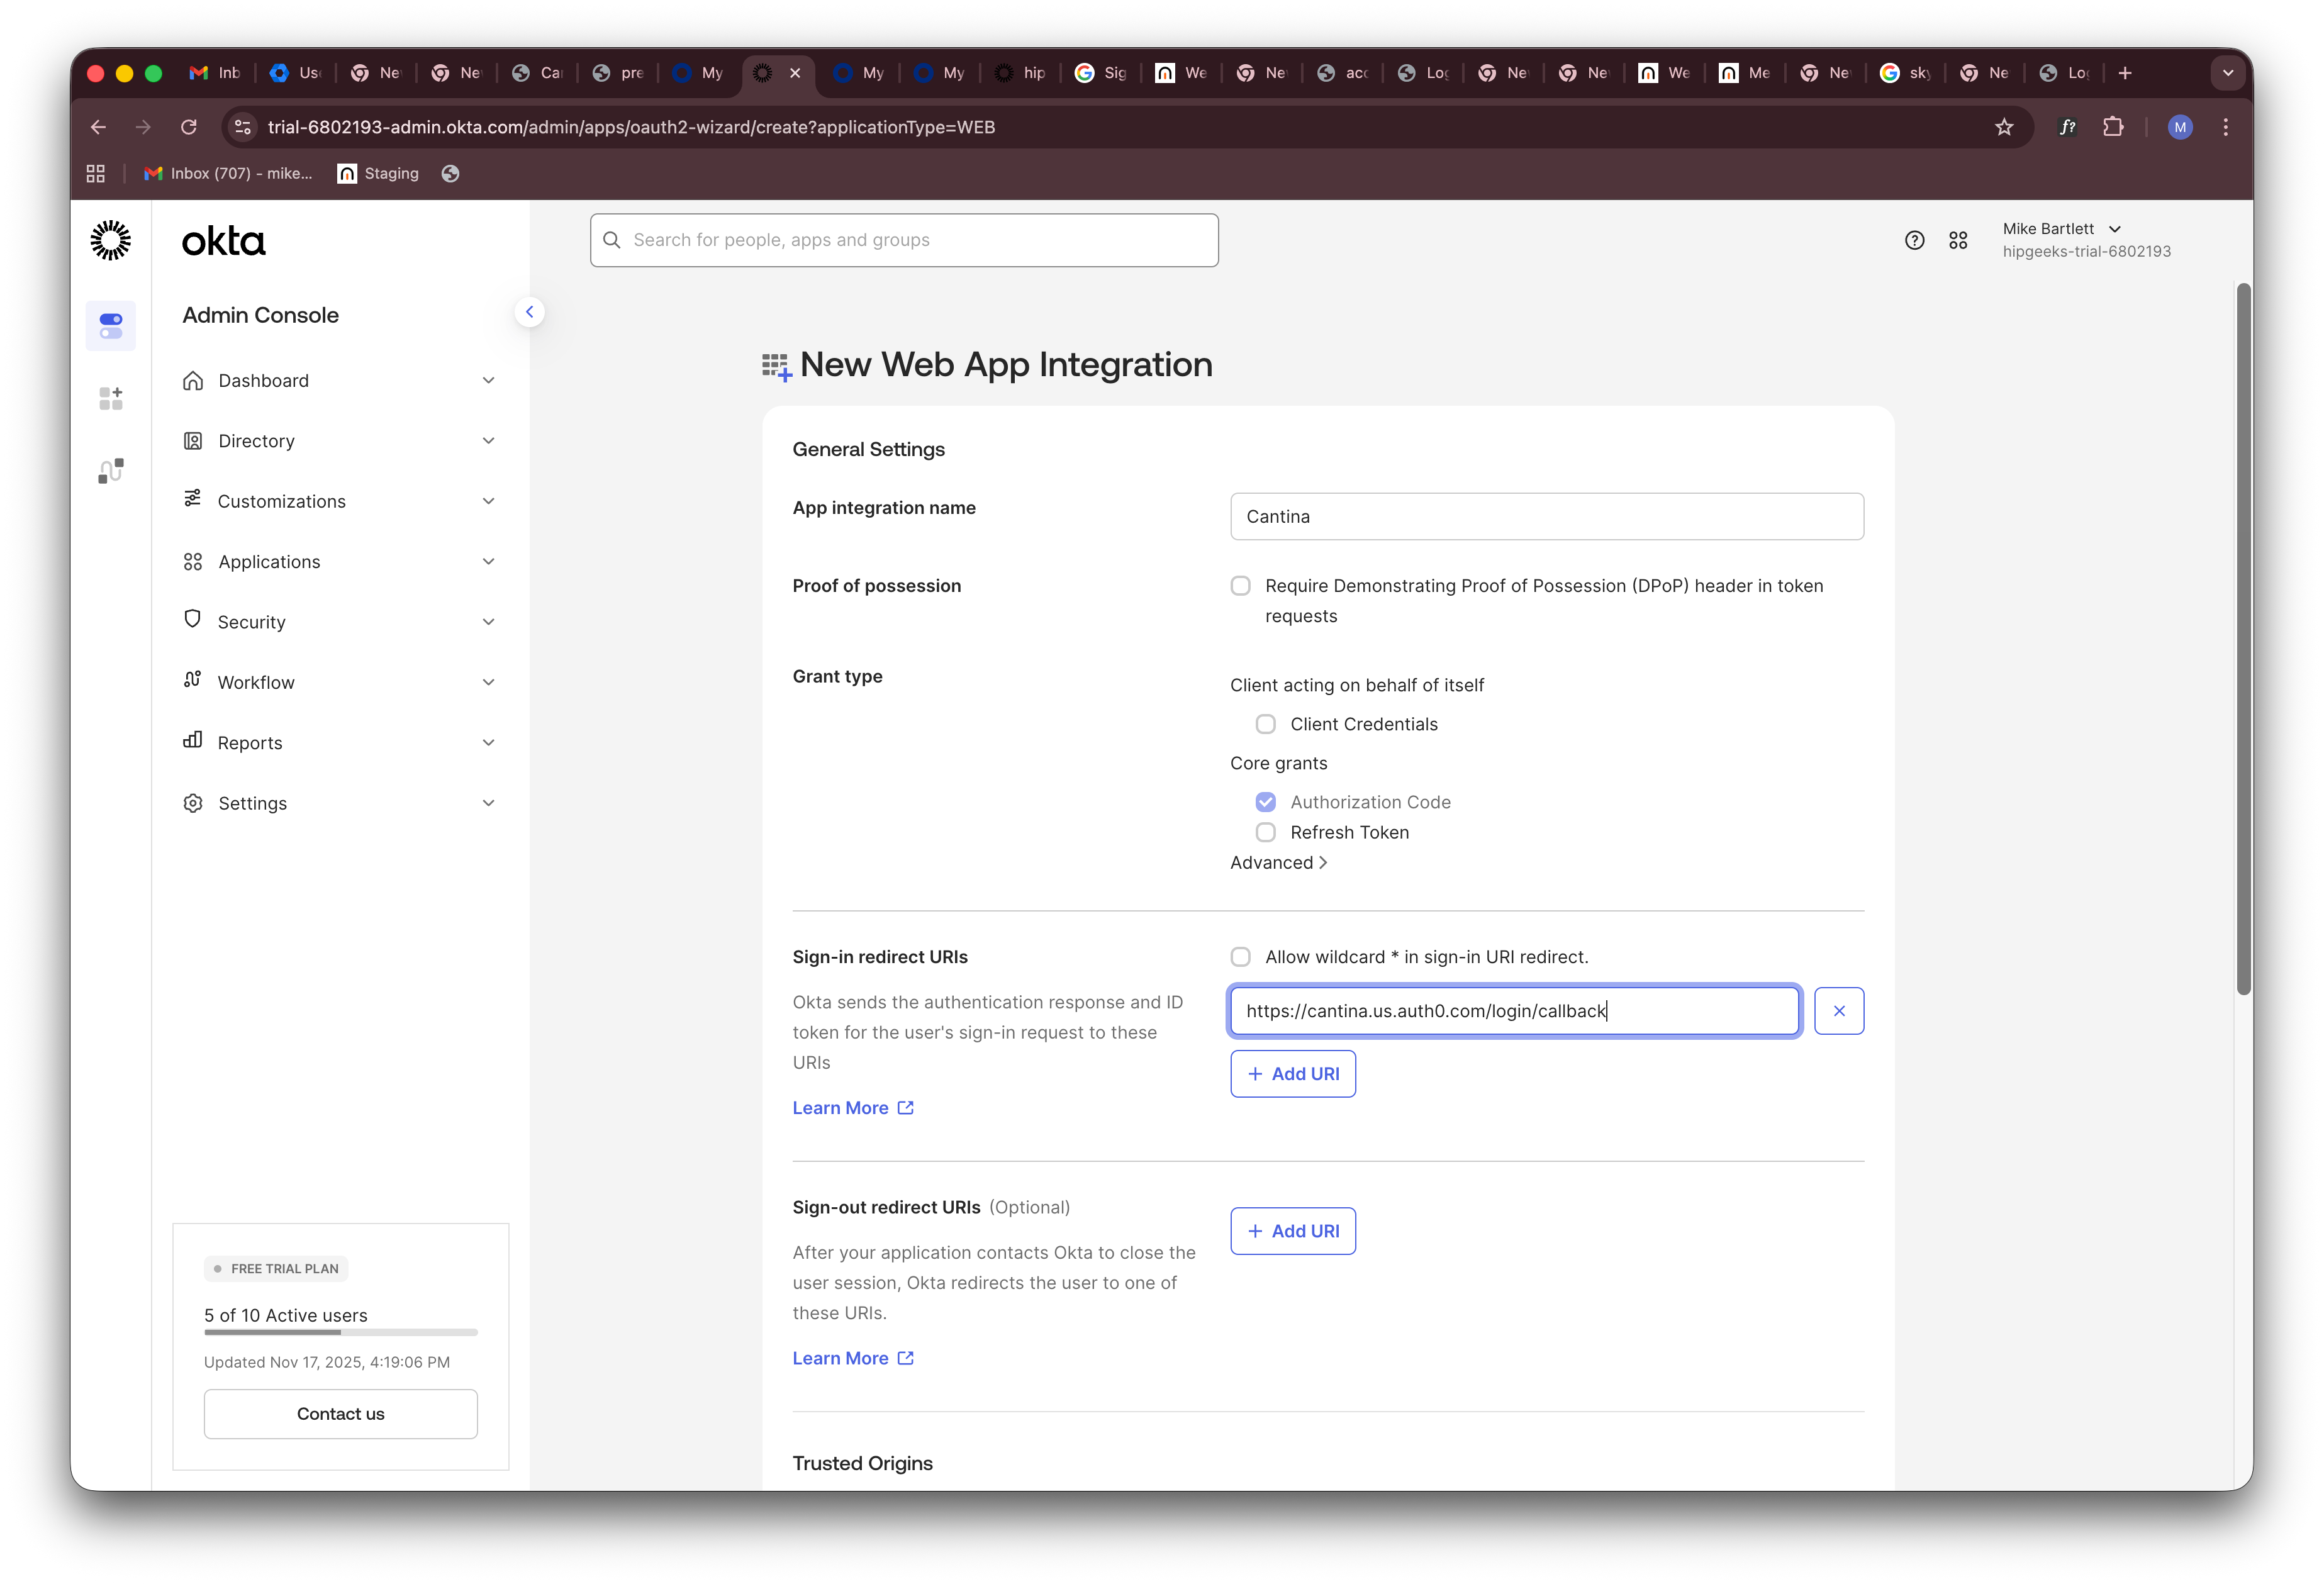
- Click Create App Integration and select OIDC - OpenID Connect, then click Next.

- Select Web Application as the application type.

- Configure your application:
- Name your application (e.g., “Cantina”)
- Set the Sign-in redirect URI to:
https://cantina-prod.us.auth0.com/login/callback
Cantina Settings
- Go to your organization’s SSO settings at https://cantina.xyz/organization/settings/sso
- Click Add SSO Connection
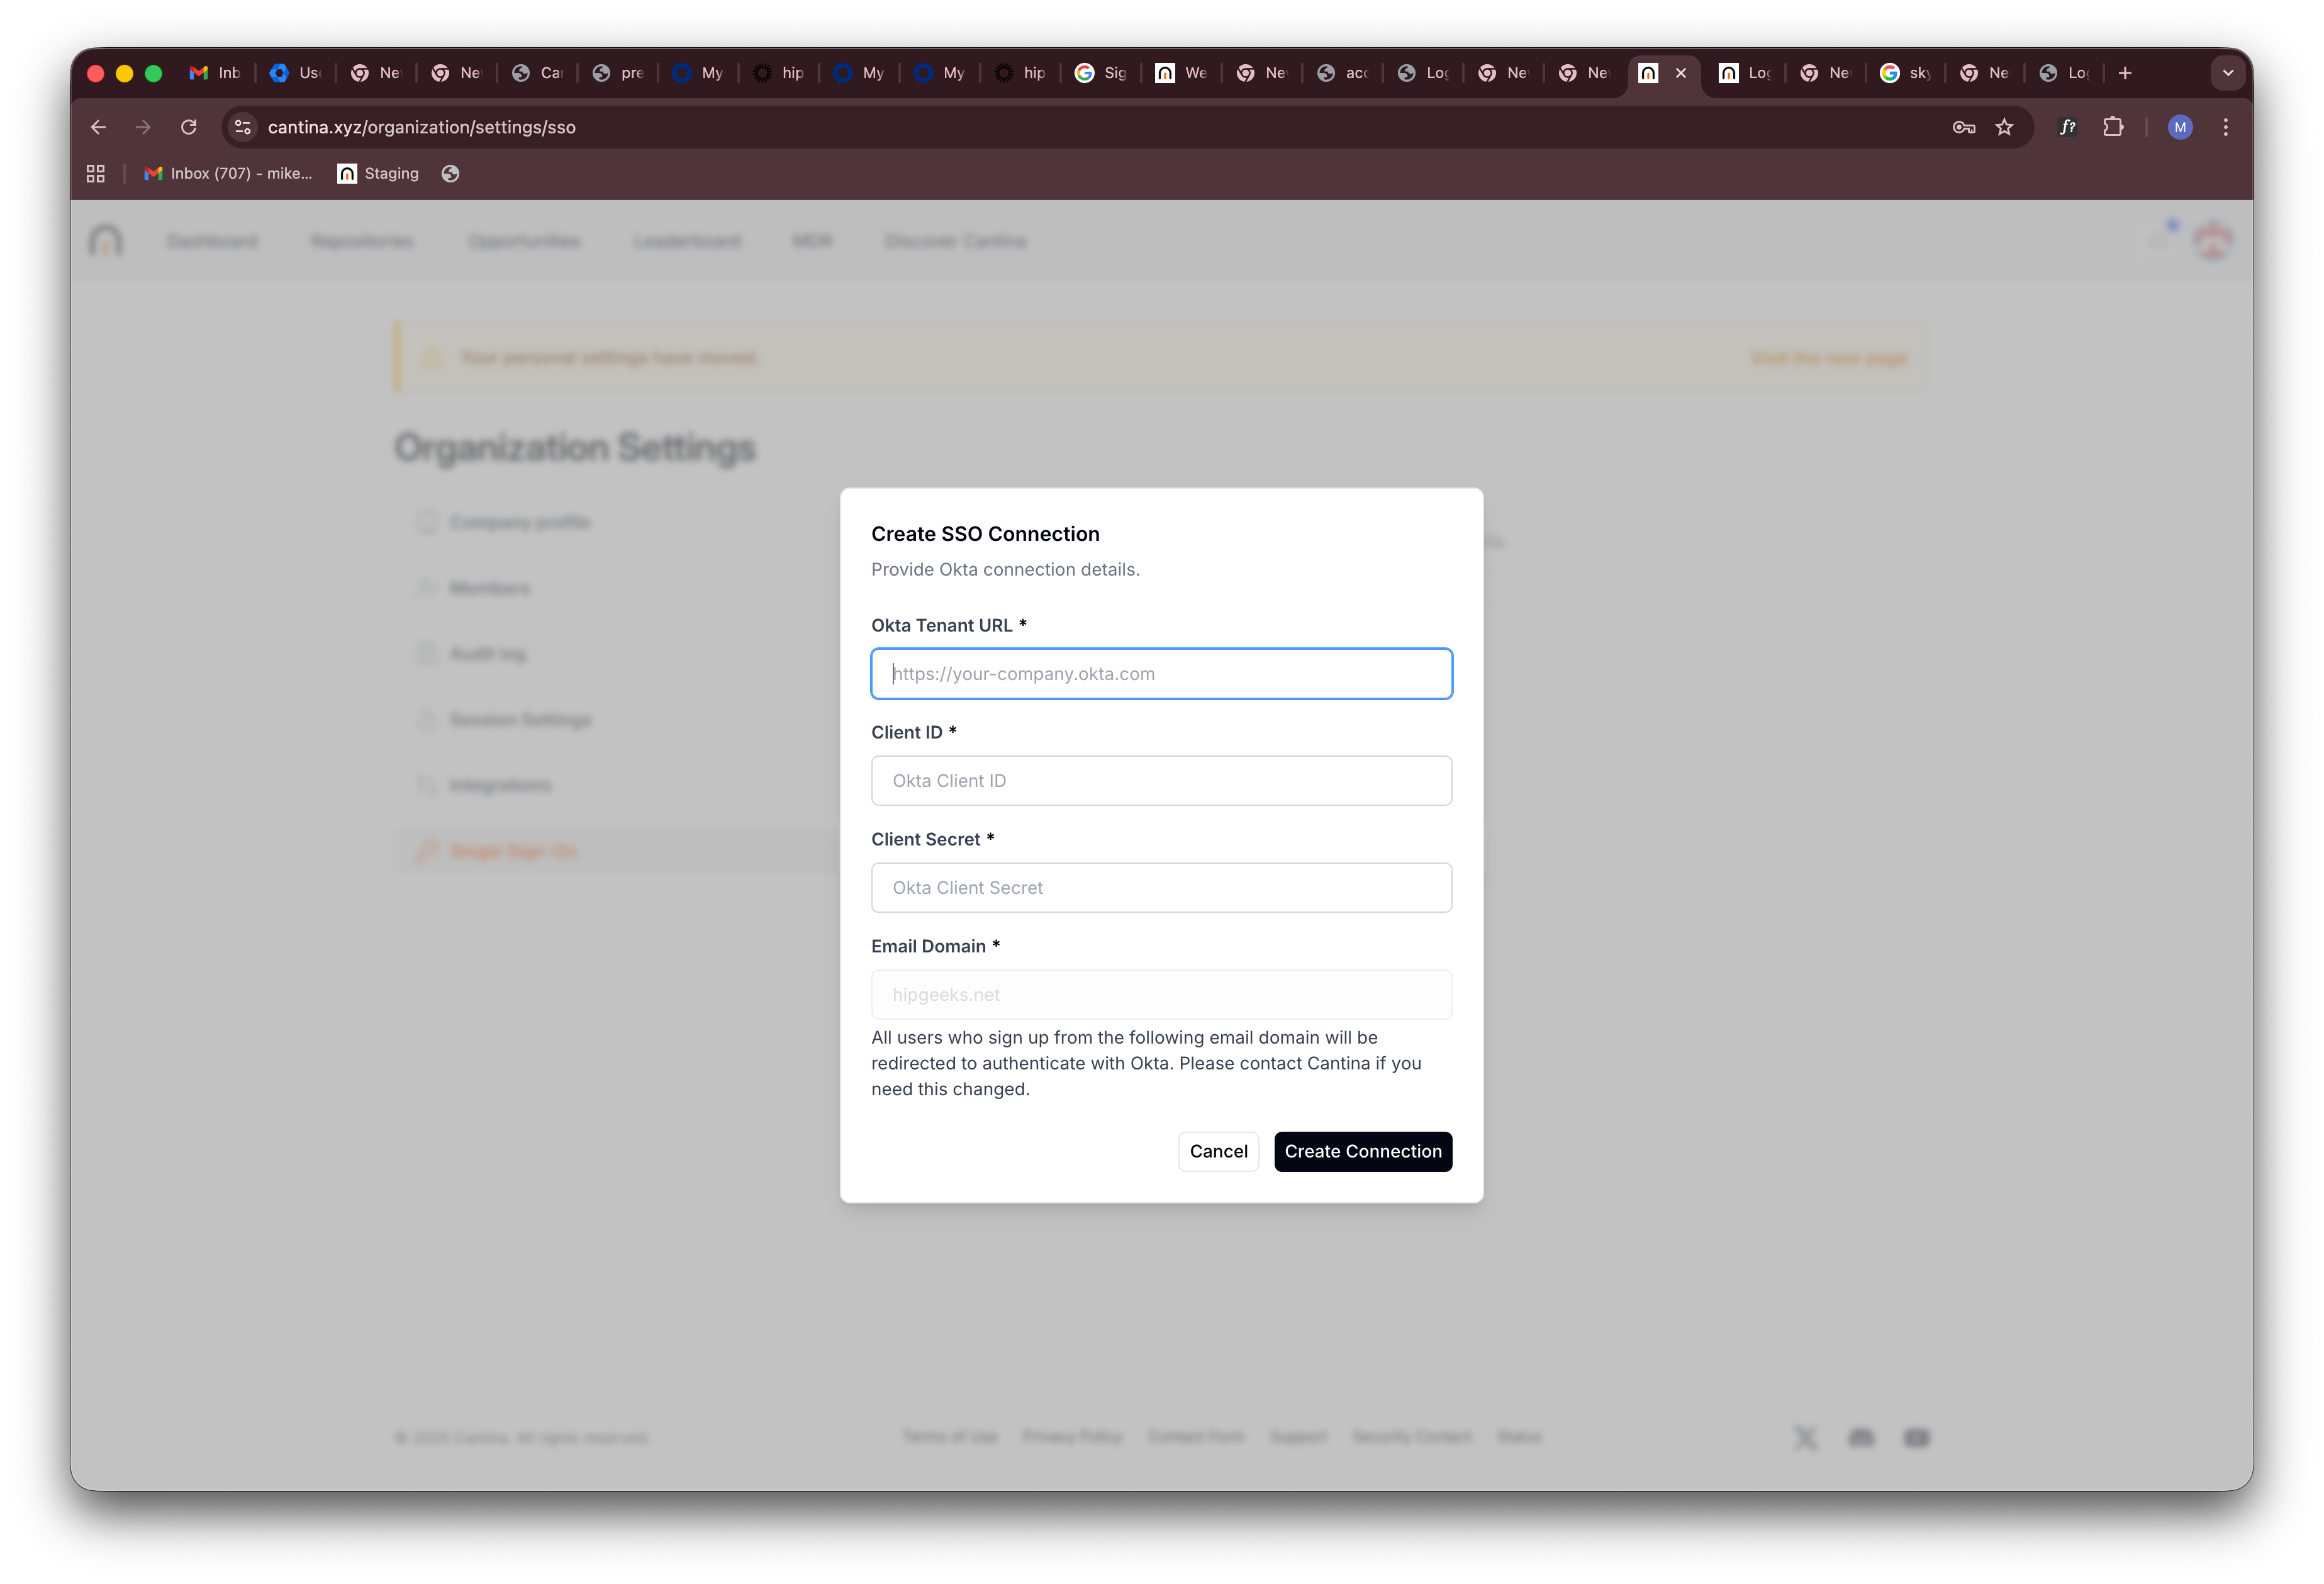
- Enter the following information from your Okta application:
| Field | Description |
|---|---|
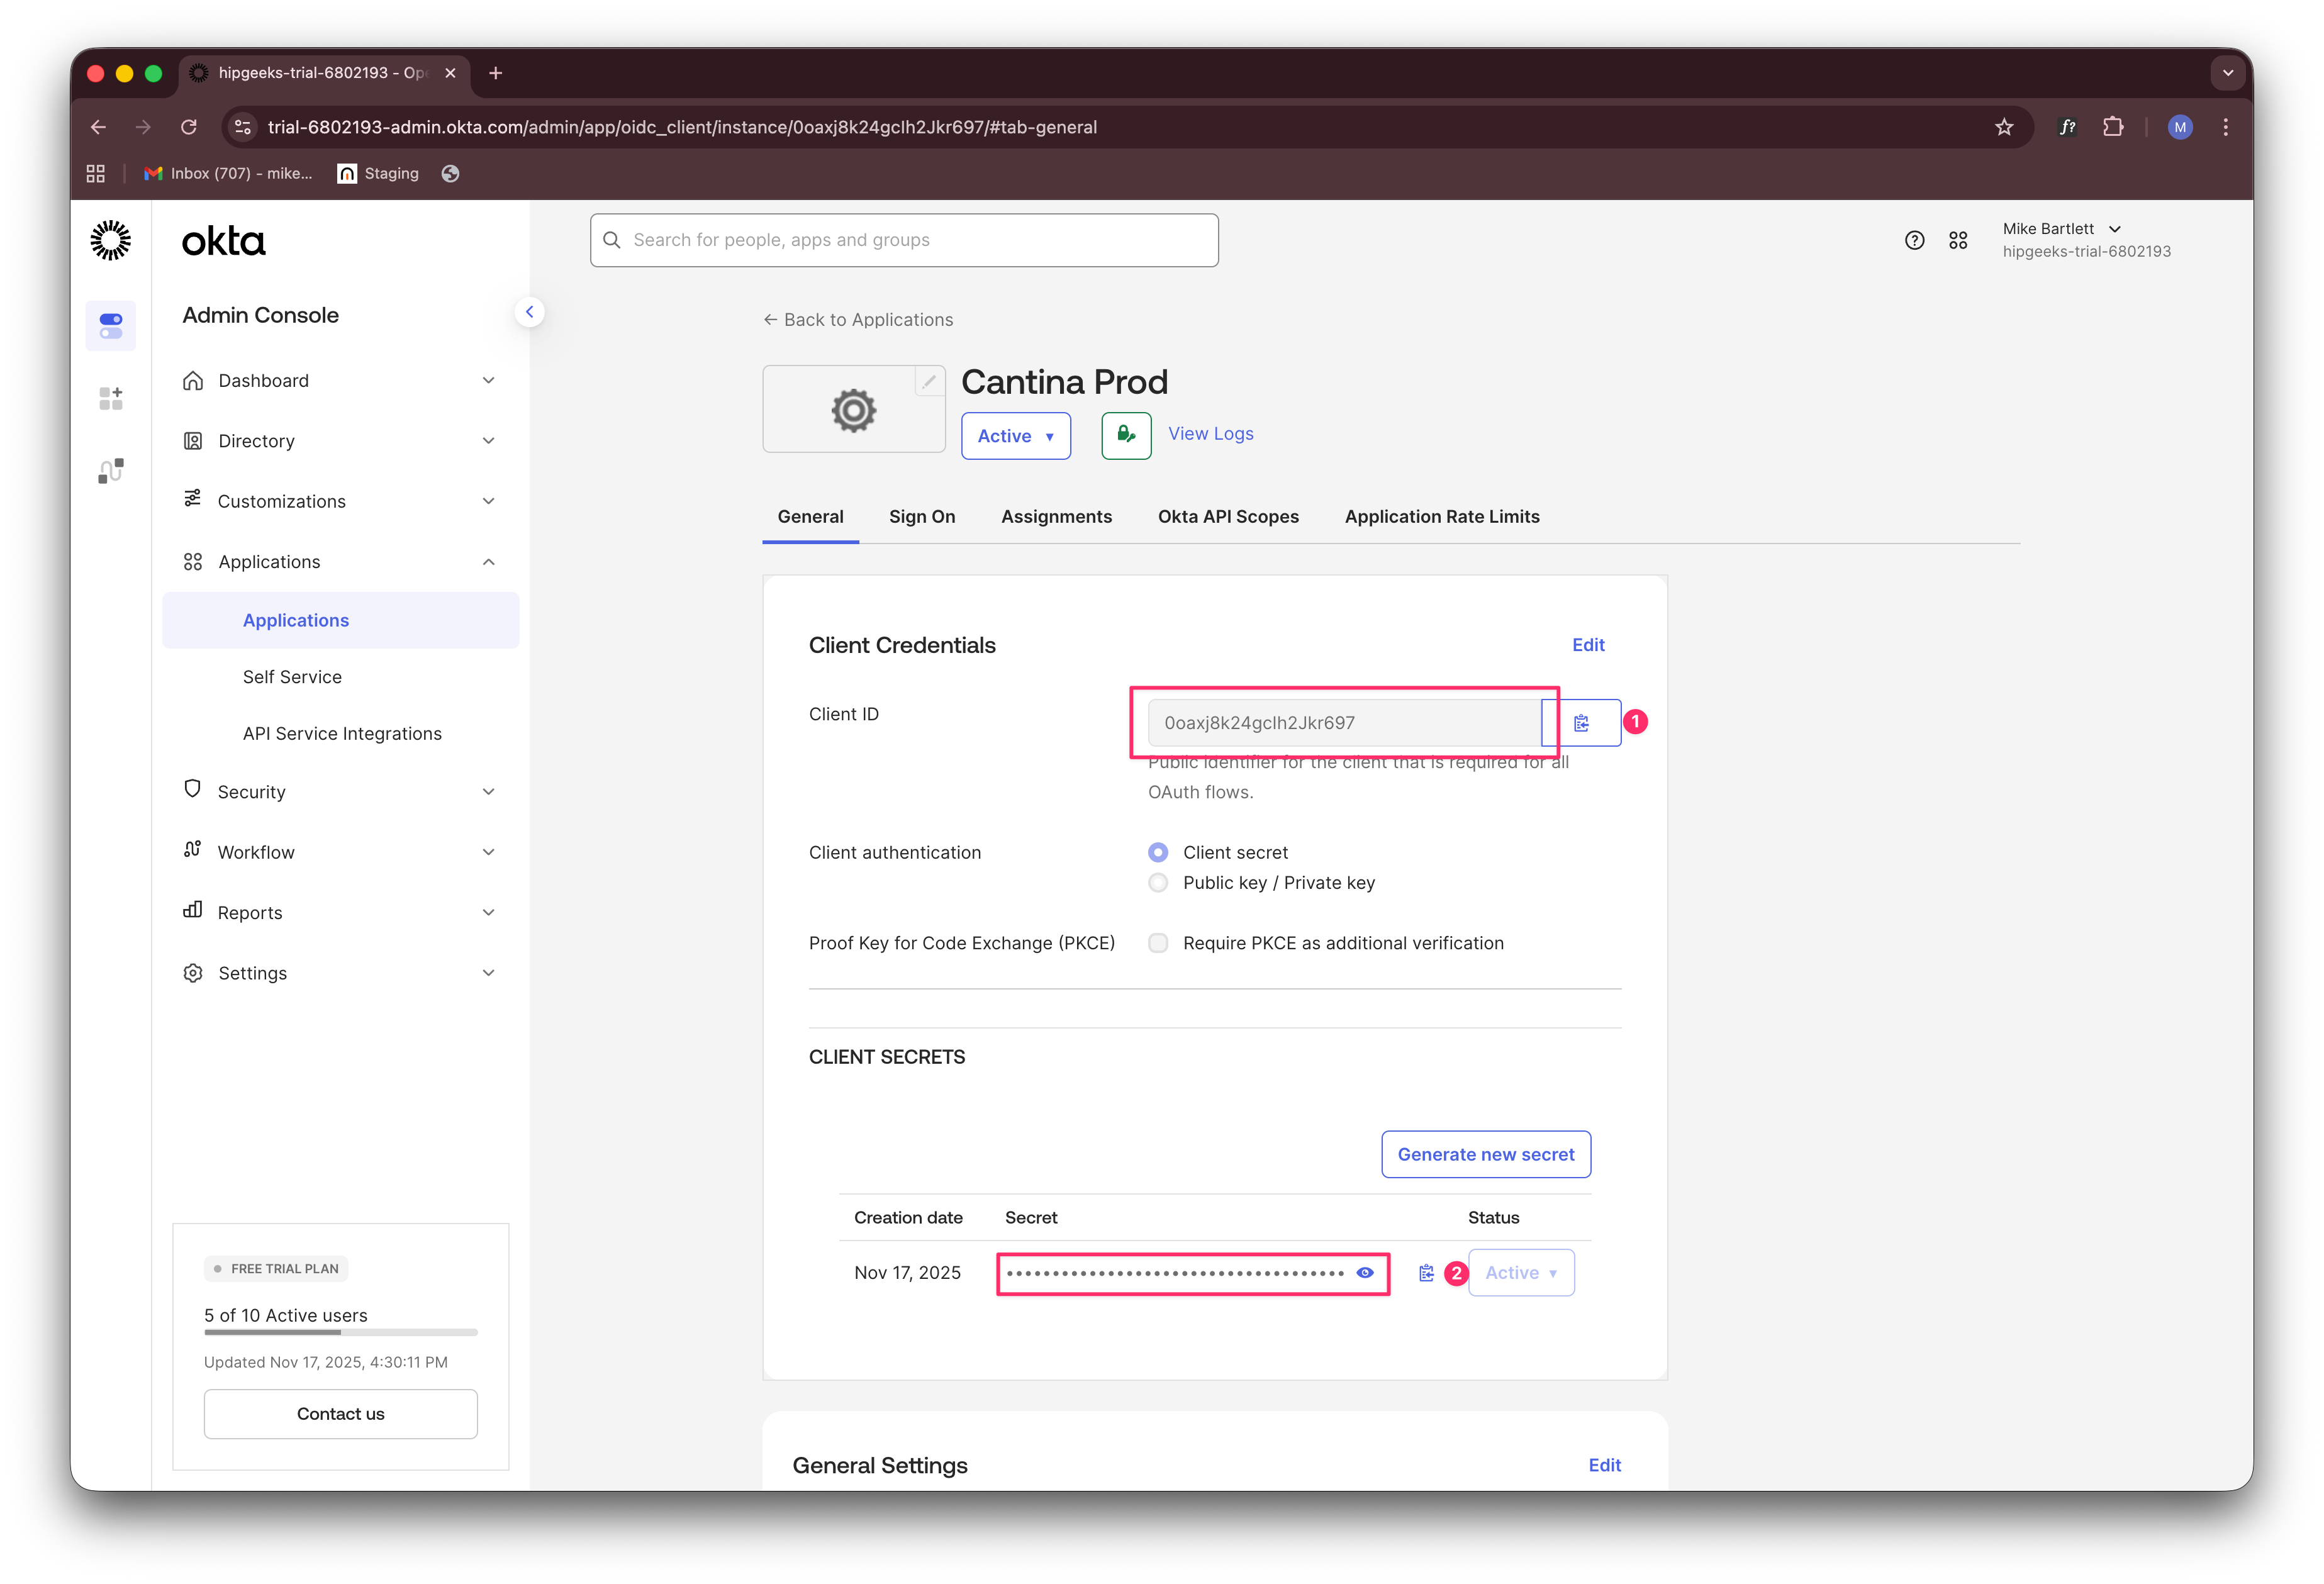
| Okta Tenant URL | Your Okta domain URL. Remove “-admin” from your admin panel URL if present. |
| Client ID | Found in your Okta application settings (see below). |
| Client Secret | Found in your Okta application settings (see below). |
| Email Domain | The email domain for your organization. Contact Cantina support if you need to modify this. |

All users with this email domain will be automatically redirected to Okta when they log in to Cantina.